Showing posts with label From the Herd. Show all posts

Friday, September 30, 2022

Get Well From the Herd

 Hello and welcome back! Here's today's card:

This design was inspired by the sketch challenge at CAS Colours & Sketches.


I've had these Layering Diorama Dies for awhile but hadn't come up with a card yet that could use them. They make a bigger cut out than the circle in the sketch, but the card is still pretty simple. Most of the work comes from coloring with Stampin' Blends.


I just love these animals - they make me smile!

Thanks for stopping by, and happy stamping!

--Cindi


Supplies used (all Stampin' Up!):

Stamp set - From the Herd

Paper - Basic White Thick Cardstock; Basic White, Pool Party, and Granny Apple Green

Ink - Memento Tuxedo Black, Granny Apple Green, Pool Party; Stampin' Blends: Balmy Blue Light, Granny Apple Green Light, Pumpkin Pie Dark and Light, Pale Papaya Dark and Light, Pink Pirouette Dark and Light, Smoky Slate Dark and Light, Bronze, Ivory, Natural Tones (SU300, SU400, SU700)

Accessories - Matte Black Dots

Tools - Big Shot, Layering Diorama Dies, Classic Label Punch, Blending Brushes, Multipurpose Liquid Glue, Mini Stampin' Dimensionals

Saturday, August 13, 2022

From the Herd Magic Card

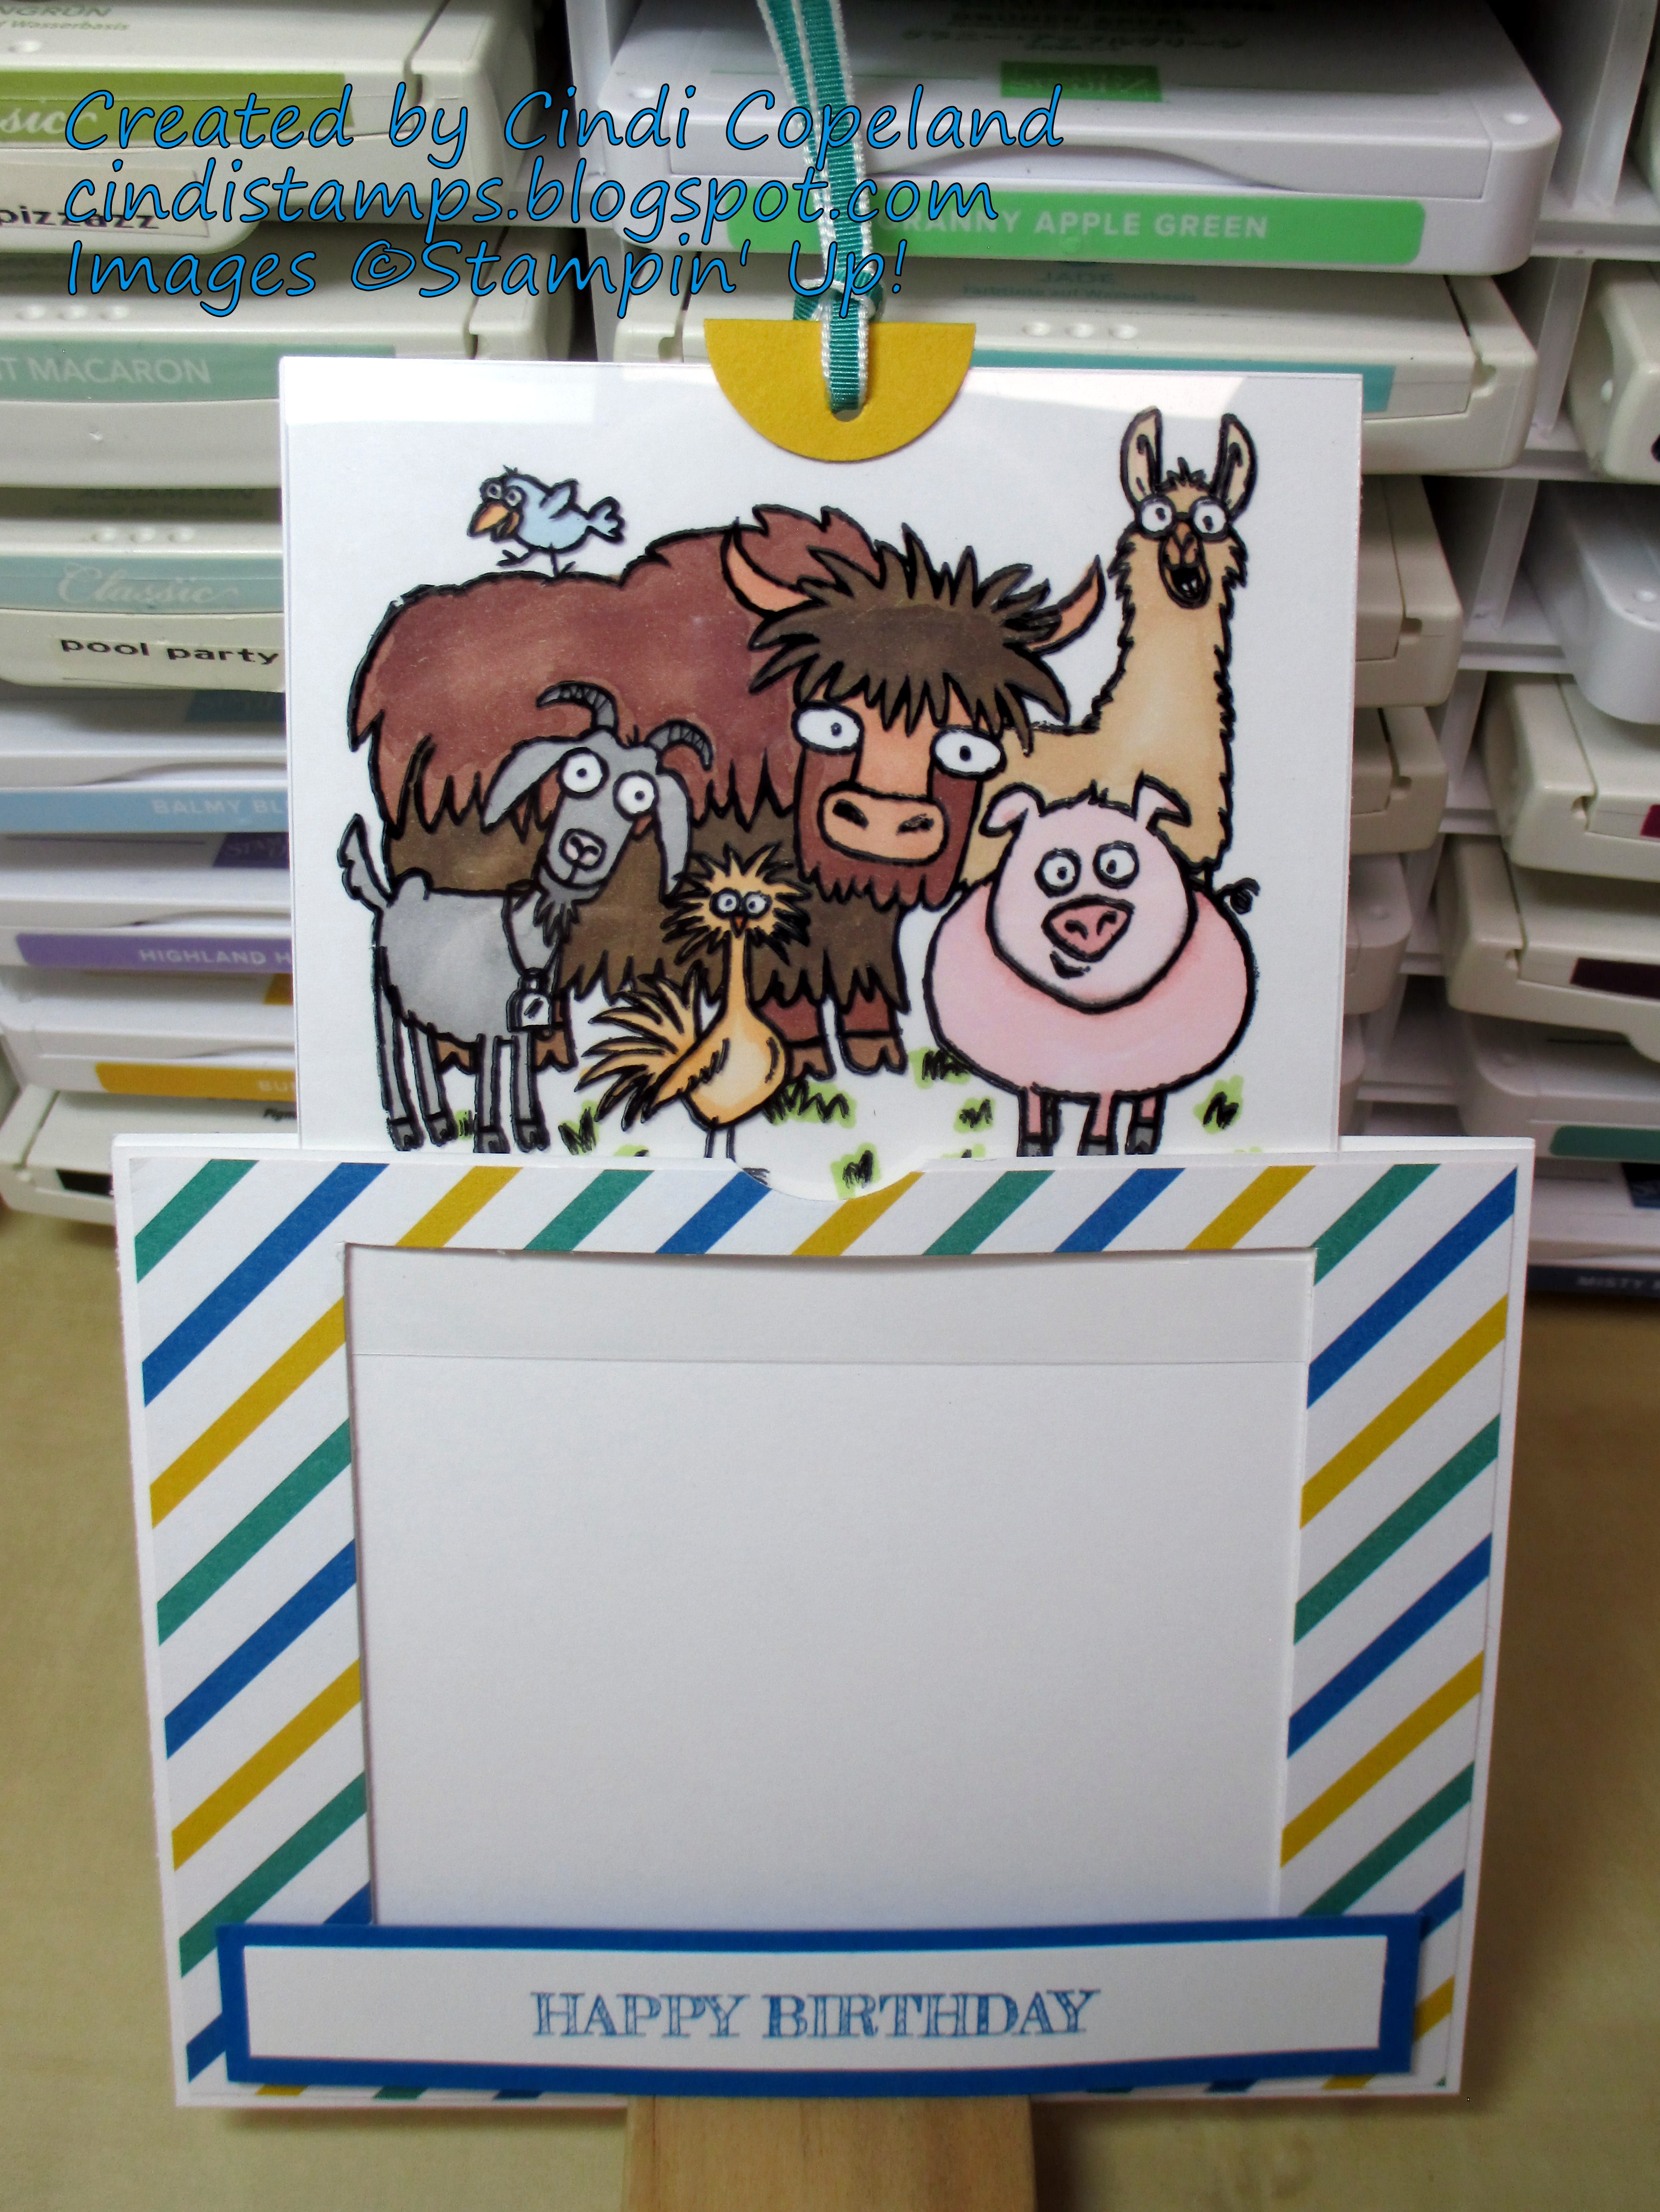
Hello and welcome back! Today's card is for a friend who has developed an obsession with alpacas! I didn't have any stamps with alpacas, but there's a llama in this set, so I figured it was the next best thing! Here's the card:

And it's a magic card! I found a tutorial by Lisa Curcio and adapted it to fit my image. It was tricky because the image is so large, but I mostly made it work. I should have left a little more room at the top, but my friend was SO surprised!
The design is pretty close to the sketch at Freshly Made Sketches this week, although I did rotate it, so I'll enter it.

The coloring took some time, as did my calculations for the window in the card front. I couldn't use a die to cut the window because my dimensions didn't fit anything I had, so I had to use my trimmer. 


 This is another of my favorite retired sets that I don't think I'll ever get rid of!

Thanks for stopping by, and happy stamping (and coloring too)!

--Cindi


Supplies used (all Stampin' Up!):

Stamp set - From The Herd

Paper - Basic White Thick Cardstock; Basic White, Crushed Curry, Pacific Point Cardstock; Party Animal DSP

Ink - Memento Tuxedo Black, Staz-On Jet Black; Stampin' Blends: Bronze, Ivory, Balmy Blue Light, Granny Apple Green Light, Pale Papaya Dark and Light, Pink Pirouette Dark and Light, Pumpkin Pie Dark and Light, Smoky Slate Dark and Light, Natural Medium Deep (SU300 & SU400), Natural Medium (SU600), Natural Medium Light (SU700)

Accessories - Window Sheet, Emerald Envy 1/8" Taffeta Ribbon

Tools - Stamparatus, 1" Circle Punch, Stampin' Trimmer, 1/8" Handheld Punch, Mini Glue Dots, Multipurpose Liquid Glue, Tear & Tape, Mini Stampin' Dimensionals

Saturday, August 8, 2015

A Special Birthday Card

Hello and welcome back!

Today's card is a special request. My son's girlfriend's father's birthday is coming up and they asked me to make a card for him. He is a huge Chicago Bears fan, so that really set the tone for this card.


I posted in one of my Facebook groups to find out the right colors to use, and I think these are spot on! The football was a bit of a challenge, but it wasn't too hard to make. I used the Ovals Framelits to cut out an oval from Chocolate Chip cardstock, then used the same framelit to cut off a wedge to give me the football shape. I cut a second Chocolate Chip and a Whisper White shape, using the original as a guide, and then layered the white on top of one of the brown ones. I eyeballed where the stripes would go, and cut out the remaining brown shape, then embossed it with the Decorative Dots embossing folder. I then glued the embossed pieces on top of the layered shape and added the baker's twine laces. I did have to trim the final shape because the embossing shrunk the top layer just a little bit.

Today's tip for the layered knot: Take a piece of Night of Navy seam binding and hold it on the banner longways, covering the sentiment. Gather it just a bit and attach it with the handheld stapler. Place the Pumpkin Pie ribbon on top and tie a single knot over it. Voila!

I hope John likes this card, and I hope you do too!

Thanks for stopping by, and have a great day!

--Cindi
Built for Free Using: My Stampin Blog

Sunday, March 8, 2015

Silent Auction donation

Hello and welcome back! I'm taking a couple of weeks off from the design team at Can You Case It? since it's kind of a busy time at work, but I wanted to show you some cards I made a few weeks ago.

Those of you who know me, know that I love to sing, and look for every opportunity to do so! For the past couple of years, I have been singing with the West Suburban Symphony Singers in the western suburbs of Chicago. Last night was their annual fundraiser and one of my friends on the committee asked if I would be interested in donating some of my work for the silent auction. Of course, I jumped at the chance! But then time got away from me and I ended up making all of the cards in a weekend frenzy! Here's what my crafting table looked like in the middle of it all:


As you can see, it was a bit crazy while I was creating, but I think the final result was worth it.


In the photo above, the center card is my design, the birthday card on the left was inspired by one that I saw on Pinterest and the baby card was CASEd from Heather Heroldt.


In this photo, the two cards on the left are my designs and the masculine birthday card on the right was CASEd from Diane Barnes. I just wish I could have gotten my starburst to fit perfectly.


These two cards make me smile! The card on the right is my design, and the card on the left was CASEd from Linda Creech, but I've seen many versions of this one. Funny story, when I showed it to my husband, he asked, "Does it work?" Yes, honey, it works...NOT!!!


These two cards are both CASEd; the one on the left from Martha Inchley, and the one on the right from Chat Wszelaki.

And for those of you who are wondering, the cards were in a package with a $50 gift card for the Paper Source store, and the winning bid was............$120!!! I was very excited to see that!

Well, that's it for tonight. I'll be back to work in the morning, and I have two rehearsals and a concert this week, so probably won't have time to post until next Sunday. I've got a couple of birthdays this week as well, so you may see one of those cards here.

Thanks for stopping by, and have a great week!

--Cindi

Monday, January 19, 2015

PCCCS 127 - Sketch Challenge

Hello and welcome back! I'm here today with my entry for the challenge at the Paper Craft Crew. Here's the sketch:


PCCCS127 sketch

And here is my card:


I usually make standard sized  A2 cards, but this sketch called for a square card. I cut my card base to 5-1/2" x 11" so that it would fit into a standard sized A9 envelope and wouldn't require extra postage like a square envelope. I built up my card front, and then cut the center circle out with a framelit. I cut a piece of Naturals Ivory cardstock to 5-1/4" square, placed it inside, and drew around the circle with a pencil so I could determine the placement of the stamp. I love this stamp set! And since it is photopolymer, I could see exactly where my penciled circle was. I added the party hat and balloon for a touch of color and then glued the inside into the card.


I have several friends with January birthdays, so one of them may just get this card in the mail this month!

Thanks for stopping by, and have a great day!

--Cindi


Built for Free Using: My Stampin Blog