Hello and welcome back! For today's card I decided to try another new technique. I've got lots of photos to explain it (haven't gotten up the nerve to try a video yet!), but first, here's the card.

I used a background stamp and my Stamparatus to create this color-blocked element. Here are the steps:
1. Cut a piece of cardstock to 4-1/4" x 5-1/2" (a standard card front). Also cut 2 pieces of printer paper to the same dimensions. Then cut each piece of printer paper in half, one horizontally and one vertically.
2. Use a bit of washi tape on the back of the cardstock to hold it down on the Stamparatus platform. Then use more washi to tape down the printer paper, one of the horizontal pieces and one of the vertical pieces. In the photo below, I have already stamped on the right-hand side of the cardstock and am preparing to stamp the left-hand side.

3. Reposition the printer paper to expose one corner of the cardstock at a time. You can see in the photo above that there is a bit of the stamped image exposed. You need to do this because when stamping over the layers, the ink does not get right up to the edge of the printer paper.

4. Here's the stamping on the last corner.

5. You can see in the photo below that there is a small gap between the colors because I didn't position the printer paper with a bit of ink showing. Once the card is finished it won't be as noticeable.

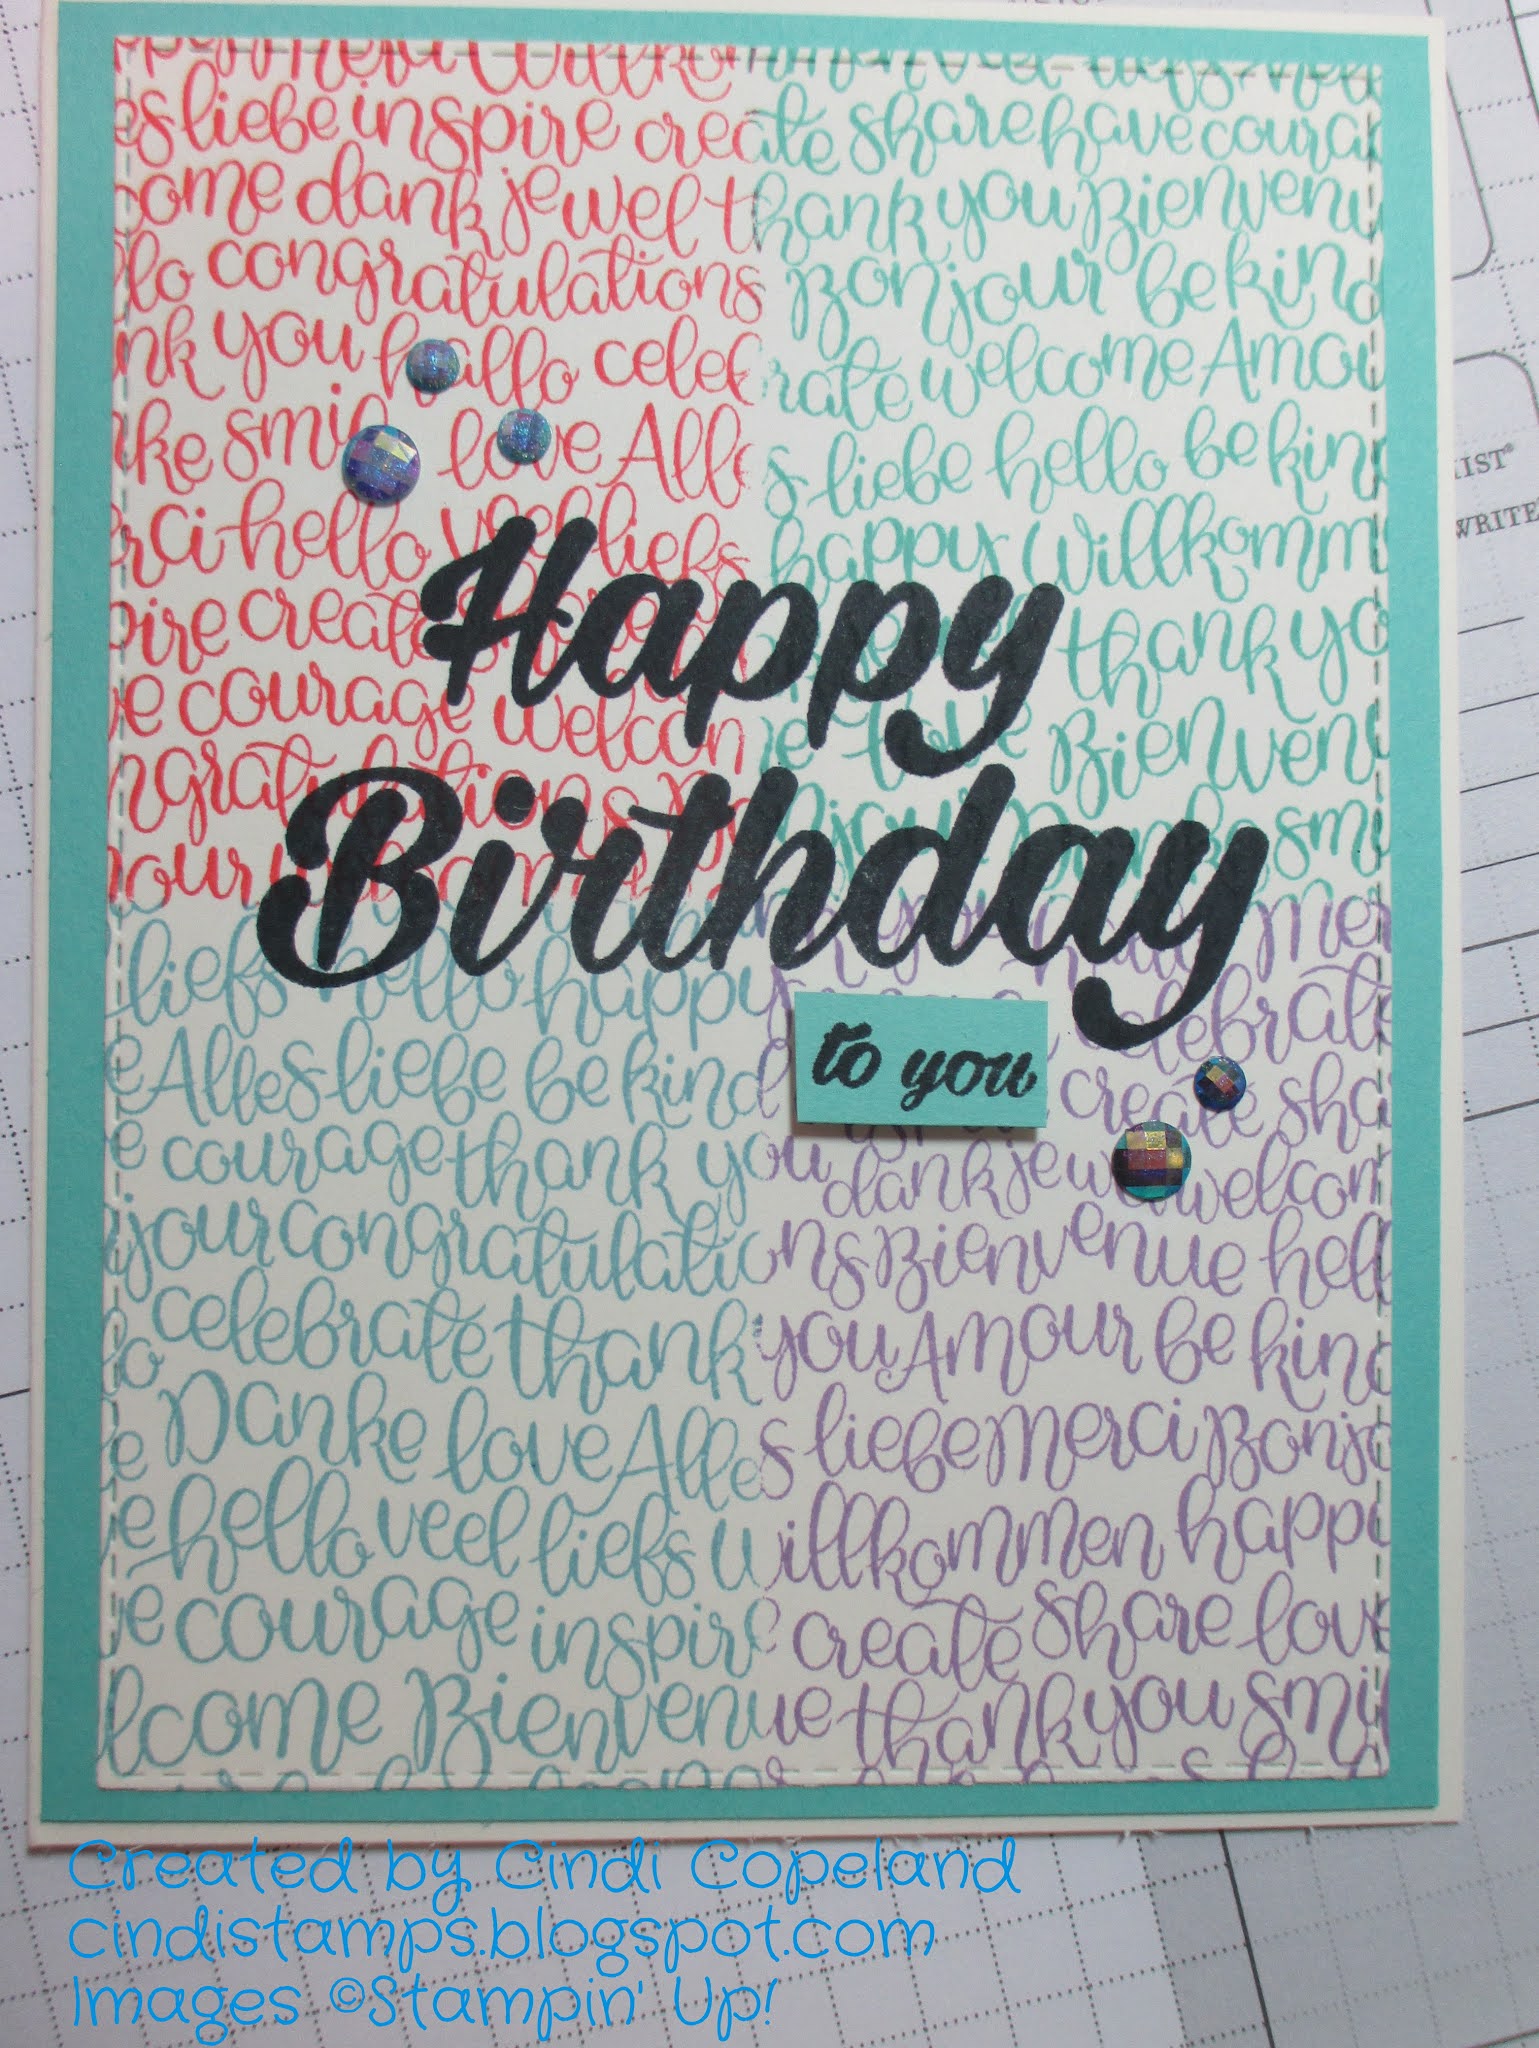
6. I used the largest Stitched Rectangle die to trim the cardstock panel, then used a bold sentiment to stamp over the background in Memento Tuxedo Black.

7. I trimmed a panel of coordinating cardstock to 4-1/8" x 5-3/8" to attach to the card base and trimmed out a small additional stamp for the front. I also added a few adhesive dots for some blingy interest.
I made four of these cards, one with each color. The first one turned out a bit different. Since I wasn't careful about how I placed the masks, there was a much larger gap in the stamping. So I just cut the panel into four pieces to eliminate the stamping gap and adhered them to the colored cardstock. As a result the border is much narrower, but it's hard to tell that it's pieced.


This card was inspired by the product spotlight challenge at TGIF this week.

I hope you'll give this technique a try - it's not too hard at all!
Thanks for stopping by, and have a great day!
--Cindi
Supplies used (all Stampin' Up!):
Stamp sets - Handwritten, Birthday Bright, Approaching Perfection (inside sentiment)
Paper - Very Vanilla Thick Cardstock; Highland Heather, Flirty Flamingo, Balmy Blue, Coastal Cabana, and Very Vanilla Cardstock
Ink - Flirty Flamingo, Balmy Blue, Coastal Cabana, Highland Heather, Memento Tuxedo Black
Accessories - Blue Adhesive-Backed Gems
Tools - Big Shot, Stitched Rectangles Dies, Multipurpose Liquid Glue, Mini Stampin' Dimensionals, Paper Snips
No comments:
Post a Comment
Thanks for visiting! Your feedback is important to me!