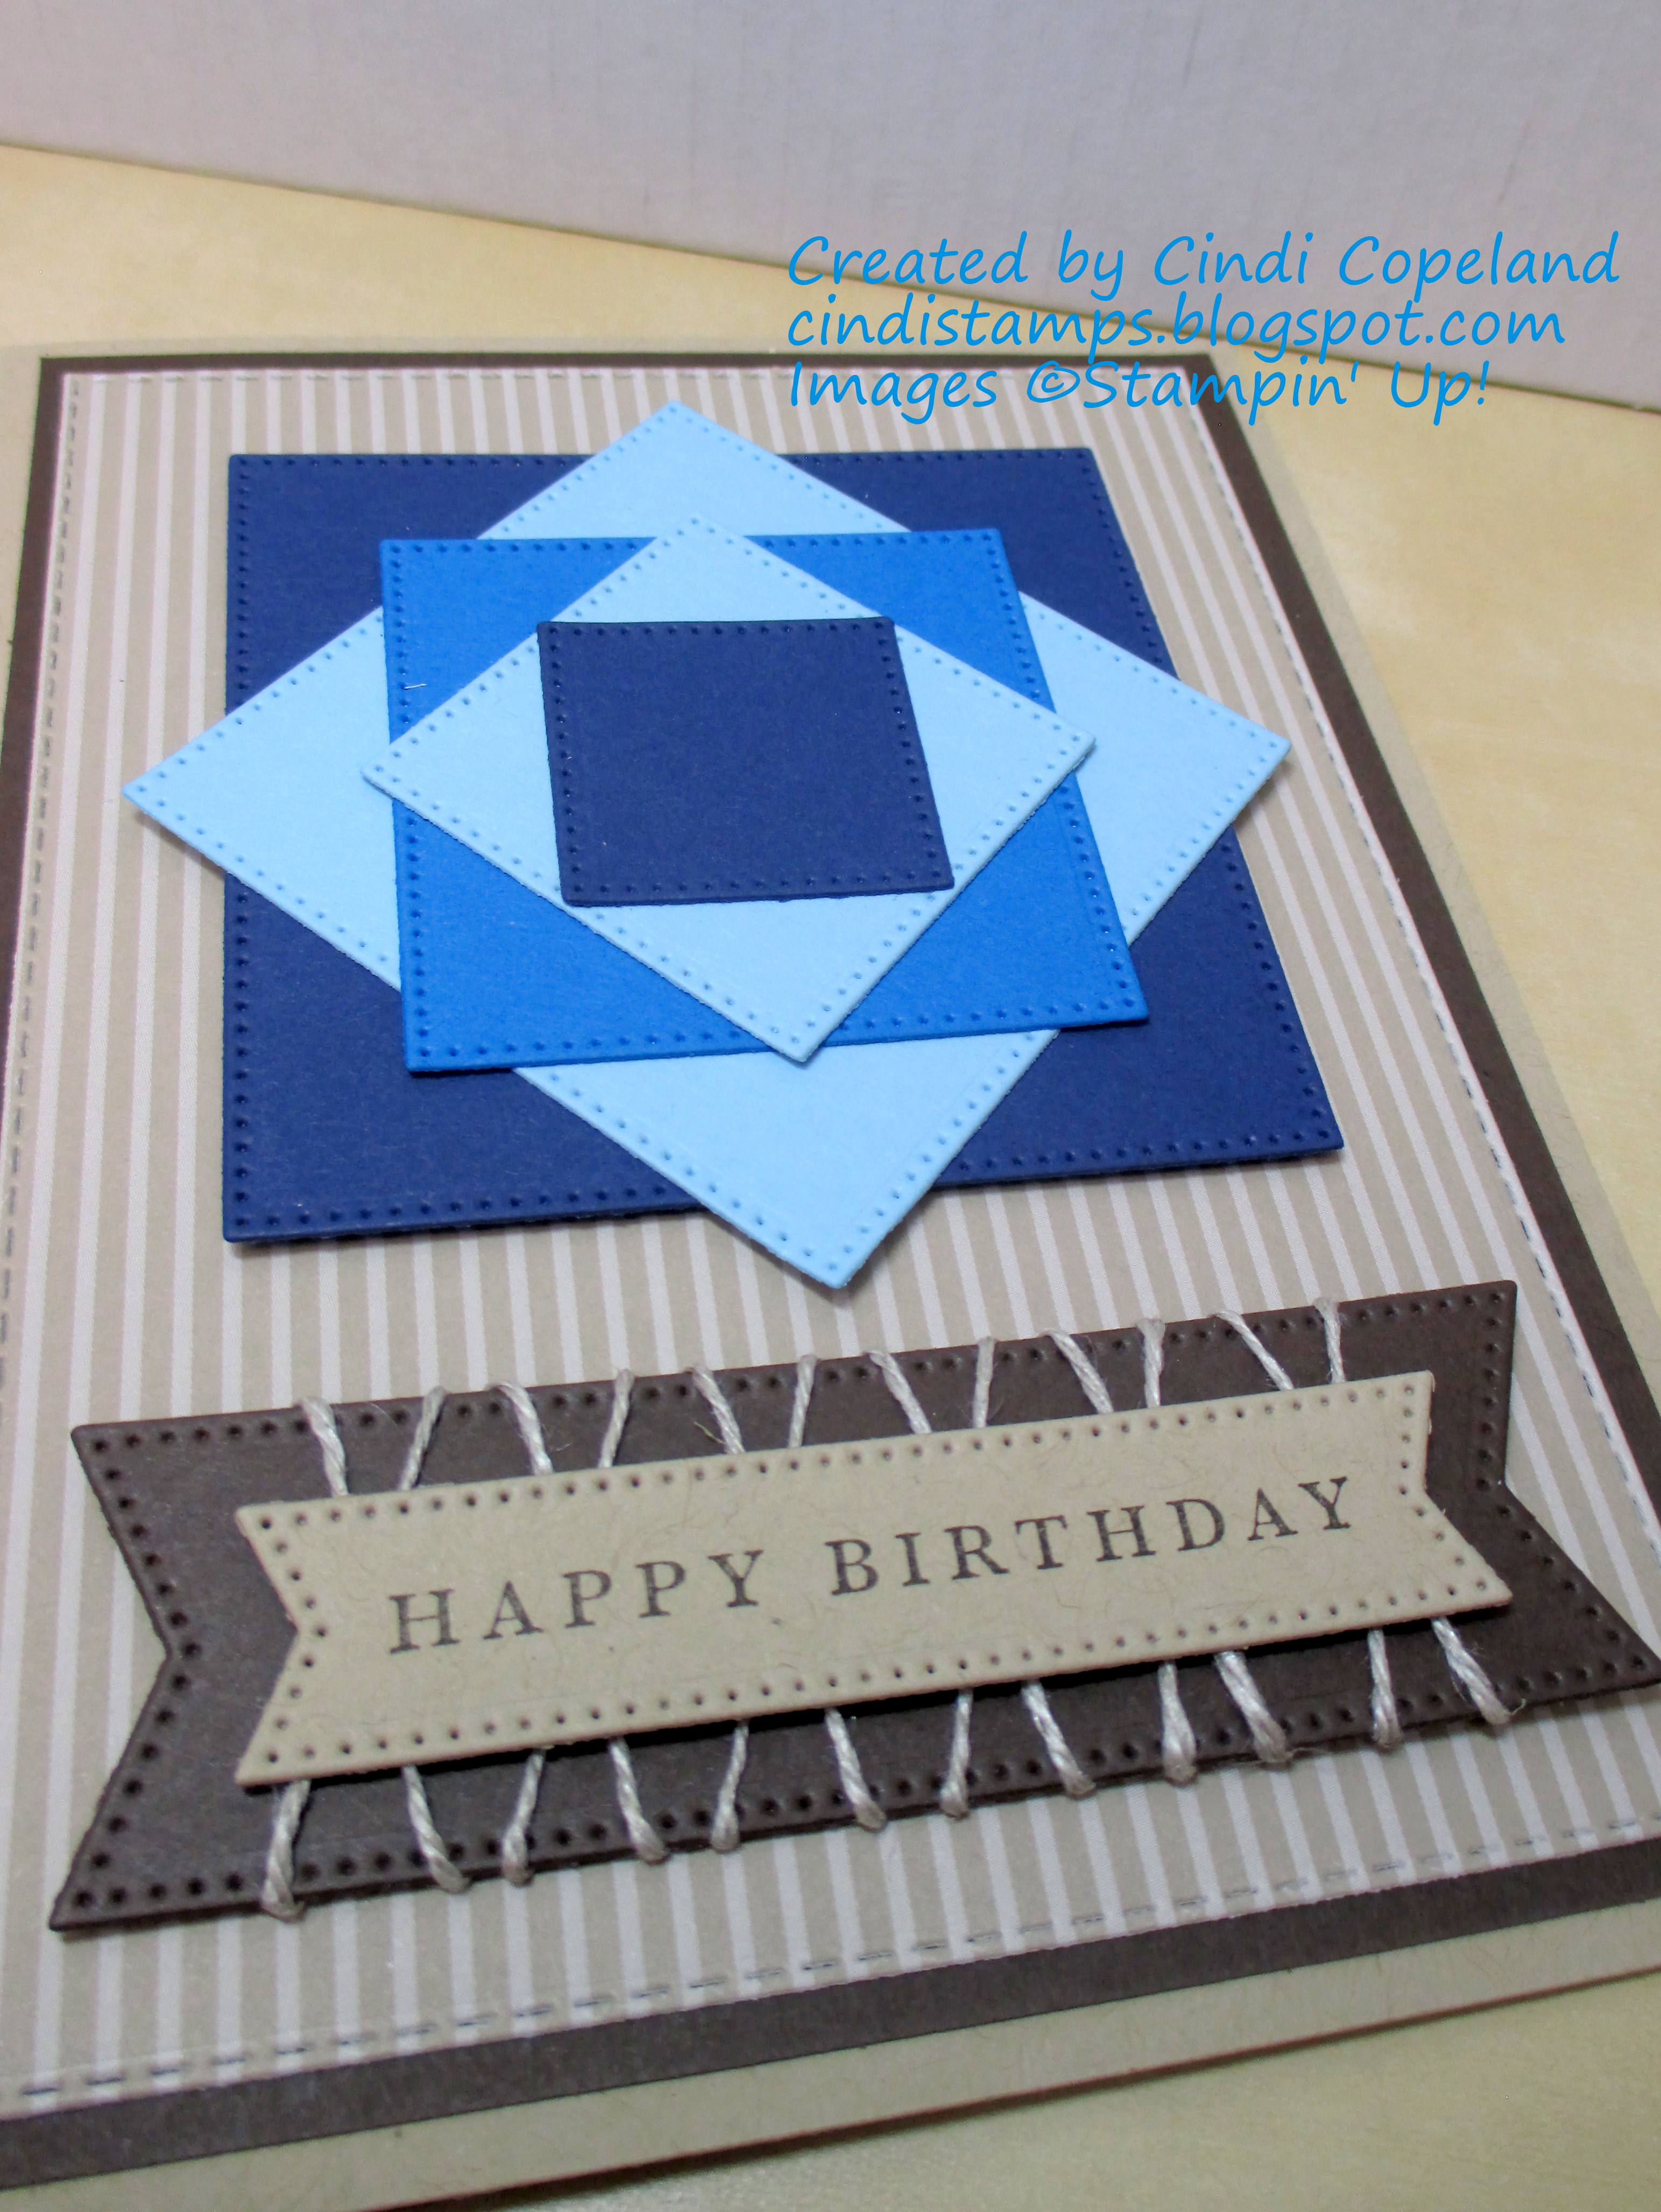
Hello and welcome back! Here's today's card:

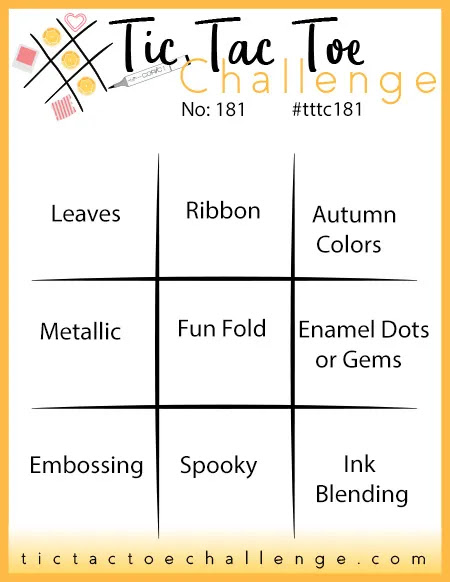
This card was inspired by the challenges at As You See It, Just Add Ink, and Tic Tac Toe Challenges (right column - die cut, squares, free).


There's no stamping on this card (except for the inside), but my Big Shot got a workout! And I did use some ink for accents. For the center panel, I used Coastal Cabana ink with a blending brush to create the base, then used one of the masks from the Foursquare Decorative Masks and some Pretty Peacock ink to create the pattern (the little squares in the mask were just what I needed for the Tic Tac Toe challenge!). The Lemon Lolly layer was embossed using one of the Basics 3D embossing folders. My son thought it looked liked the candy dots on the paper strips so I decided to try and bring that out a bit by dragging an ink pad across the raised dots. Of course, nothing ever goes as planned! Some of the ink "splotched" in between, so I figured I'd just go with it and add more splotches to make it less obvious that there was a mistake.

The vellum circle was embossed with another of the Basics folders, then I popped up the die-cut birthday sentiment.
Thanks for stopping by, and happy stamping!
--Cindi
Supplies used (all Stampin' Up!):
Paper - Basic White Thick Cardstock; Basic White, Lemon Lolly, Coastal Cabana, Pretty Peacock Cardstock; Vellum Cardstock
Ink - Coastal Cabana, Lemon Lolly, Pretty Peacock
Tools - Big Shot, Wanted To Say Dies, Stylish Shapes Dies, Basics 3D Embossing Folders, Fourquare Decorative Masks, Blending Brushes, Multipurpose Liquid Glue, Mini Stampin' Dimensionals